
“Why is the sound so terrible?” you ask, frustrated with your car’s audio system. “I just wish it was clearer and more powerful.” Well, your wish is going to be granted. This short and easy car audio installation tutorial will instruct you through every step, ensuring you get it properly the first time and acquire the great sound you deserve.
Preparing for Car Audio Installation Tutorial
- Tools and Equipment
Let’s begin by organising our tools and equipment. You would not start building a house without a strong foundation. The same goes for vehicle audio installation.
a. Basic Tools:
- Screwdrivers (both flathead and Phillips)
- Wire strippers
- Crimping tool
- Electrical tape
b.Essential Equipment:
- Your chosen audio system (head unit, speakers, amplifiers)
- Wiring kit (make sure it’s vehicle-specific)
c. Quality Matters:
- Invest in high-quality components. Trust me, you do not want to address unfastened wires or a shorted device because you skimped on the wiring kit. Quality parts not only sound higher but also last longer.
- Choosing the Right System
Now, that is when it gets fun. Picking out your audio device is like choosing pizza toppings—you need the first-class combination.
a. Head Unit: Consider functions like Bluetooth connectivity, touchscreen interface, and compatibility with your cellphone.
b. Speakers: Look for high sensitivity and appropriate wattage. More watts mean more power and clearer sound at higher volumes.
c. Subwoofers and Amplifiers: A good subwoofer is essential if you love bass. Pair it with a well-matched amplifier to give your machine the oomph it needs.
- Safety Precautions
Before you get started, consider protection. We’re managing electrical components right here, so caution is key.
a. Disconnect the Battery: Always disconnect the bad terminal of your vehicle’s battery. This simple step can save you from brief circuits and potential shocks.
b. Work in a Clean Space: Make sure your workspace is clean and nicely lit. Organising everything will save you time and prevent misplaced components.
c. Follow Manufacturer Instructions: Read through the manuals of your new components. Each system might have specific installation requirements that you shouldn’t overlook.
You set the stage for a clean and hit vehicle audio setup by preparing and equipping yourself well.
Step-by-Step Installation Guide
It’s time to roll up our sleeves and get to work. Installing an automobile audio system may appear daunting, but you’ll achieve it quickly with the right steps. Let’s break it down.
Step 1: Disconnect the Battery
First things first, safety is paramount. Disconnect the bad terminal of your vehicle’s battery. This is not just a proposal; it is a need. Avoiding any electrical mishaps is essential.
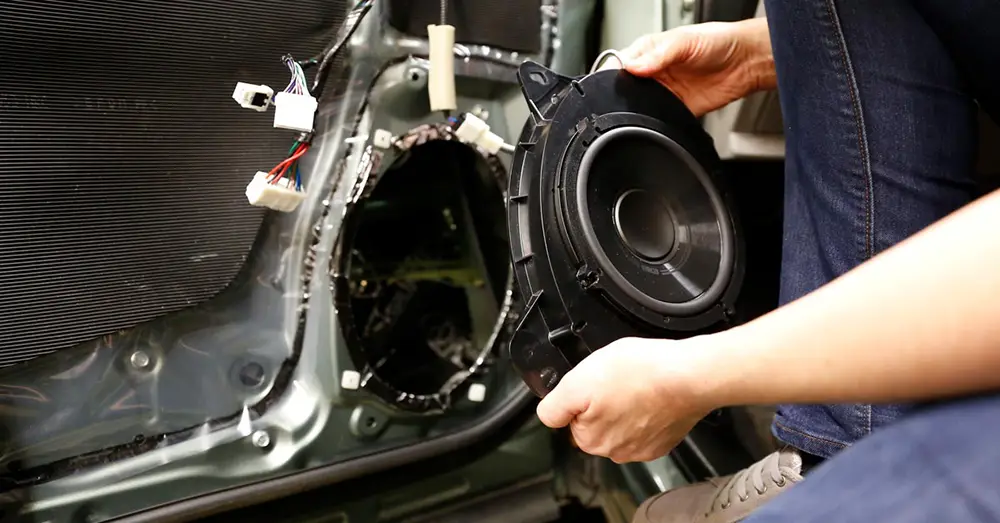
Step 2: Remove the Old System
Out with the old, in with the new. Carefully eliminate the vintage head unit and speakers. Keep music of all screws and panels – agree with us, losing a screw down a vent is the worst.
Step 3: Wiring and Connections
Here’s where the magic takes place. Wiring is the spine of your audio device.
- Identify the Wires: Match the wiring harness from your car to the new stereo’s harness. Colour codes are your best friend here. Typically, you’ll deal with:
- Red: Power
- Black: Ground
- Yellow: Constant power (memory)
- Blue: Antenna
- White/Gray: Front speakers
- Green/Purple: Rear speakers
- Connect the Wires: Use crimp connectors or solder the wires together for a solid connection. Secure each connection with electrical tape. This phase is essential for ensuring a stable and high-quality audio signal.
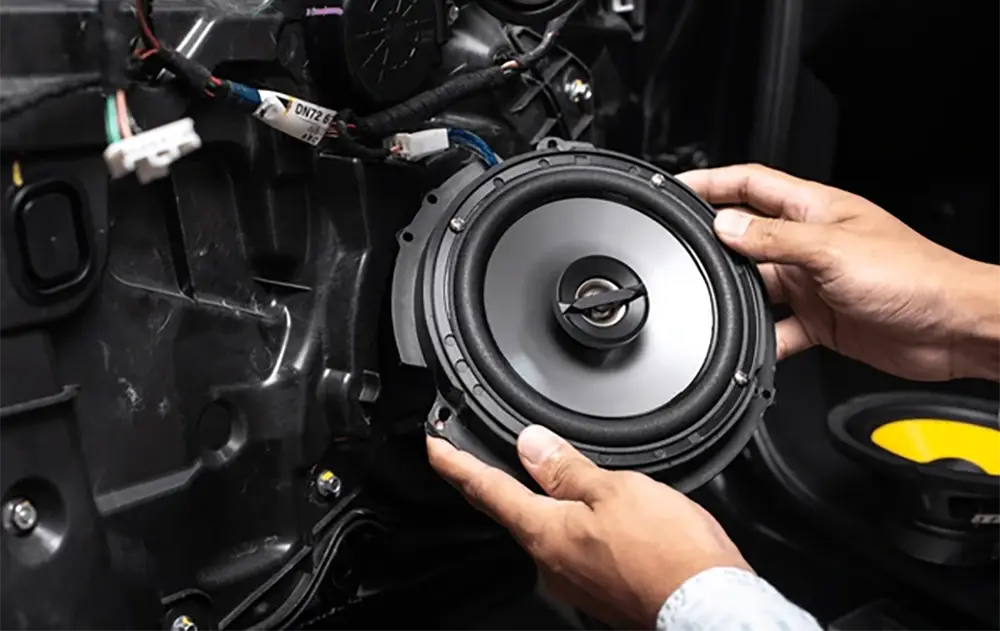
Step 4: Mounting the New System
Slide the new head unit into the dash and secure it. Make sure it fits snugly and doesn’t rattle. For speakers, fit them into the existing slots or make adjustments as necessary. A tight fit means less vibration and better sound quality.
Step 5: Testing and Adjustments
a. Before you button everything up:
- Test the system.
- Reconnect the battery, turn on the stereo, and check each speaker.
- Make sure everything sounds crisp and clear.
If something’s off, now’s the time to adjust.
- Check for Static or Humming: Check your grounding wire if you hear any unwanted noise. Poor ground can cause interference.
- Balance and Fade: Adjust the balance (left to right) and fade (front to back) settings to ensure even sound distribution.
b. Tips for a Flawless Finish
- Cable Management: Tidy up your wires and secure them with zip ties. Not only does this look better, but it also prevents interference.
- Consult the Manual: Each component might have specific installation instructions. Don’t skip reading them.
By following these steps, you’ll install your new car audio system and understand the process behind it.
 Common Installation Pitfalls and How to Avoid Them
A few common pitfalls can ruin your sound experience. Let’s explore avoiding these troubles and ensuring your device works perfectly.
- Loose Connections: The Silent Sound Killer
One of the most irritating problems you may encounter is loose connections. Imagine cruising down the dual carriageway, and your track cuts out because a cord wiggled loose. To avoid this problem, it is important to double-check before using it. Keep in mind that after connecting each wire, gently tug it. If it comes loose, redo the connection.
Additionally, it is crucial to use exceptional connectors. Investing in suitable exceptional crimp connectors or soldering your connections can provide an extra secure and durable connection. To further stabilise the connections, wrap each one with electrical tape to ensure they live placed.
- Interference Issues: Buzzing and Humming
To prevent annoying hums or humming in your audio system, it is vital to take some steps:
- Make sure that the grounding cord is securely connected to a smooth, metal part of the automobile’s chassis. This is crucial because negative grounding is not an unusual cause of interference.
- Keep your strength and audio signal wires separated to prevent interference; if they run too close together, it can cause problems.
- Shielded RCA cables can help minimise interference as they’re designed to mute out unwanted electric noise.
- Component Compatibility: Matching Power and Performance
Make sure your audio components are compatible when assembling your audio system. Bad sound quality or even system damage might result from mismatched parts. Here are a few things to give thought to:
Look at your amplifier’s and speaker’s power ratings first. Crucially, your amplifier’s power output should match the power handling capacity of your speakers. Too little can produce poor sound; too much power can blow your speakers.
Also crucial is impedance matching. The impedance of your speakers—expressed in ohms—must match that of your amplifier. Inappropriate impedance could cause damage and overheating.
Finally, always review their manuals to ensure your components are compatible. Take the time to go over the manuals and make sure the parts complement one another; otherwise, you should not simply assume they will cooperate.
Knowing and avoiding these common pitfalls can ensure your automobile audio installation succeeds. There’s nothing quite like the pleasure of a wonderfully installed sound gadget freed from stressful troubles.
Have Questions? Mobile Audio Engineering is here to Help!
Don’t worry if this instruction piqued your interest in a do-it-yourself installation but still has you unconvinced. The team at Mobile Audio Engineering is here to help. Whether you need advice, components, or a full professional installation, we’ve got you covered.
We’d love to hear about your car audio installation adventures. Have you tried it yourself, or are you planning to? Feel free to share your experiences and questions in the comments section below. Let’s create a community of car audio enthusiasts helping each other out.
Check out these comprehensive car audio installation resources for further reading and detailed guides. If you’re ready for professional help, contact us at Mobile Audio Engineering.
Following this guide, you’ll install an audio system and create an experience. The road is yours, and the soundtrack is up to you. Happy driving!